Welcome to our simple Lightroom Presets quick and simple installation guide! On June 2018, Adobe added preset sync to mobile for those with an Adobe Subscription (aka a Creative Cloud Account, free trial available). If you would never buy a subscription, stop and check out our non-subscription version of the guide!
Personally, we use the Photographer plan and will be using the All Apps plan later. Both plans offer all 3 versions of Lightroom:
- Lightroom CC Mobile (Must have for IG!)
- Lightroom CC (Must have for everyone!)
- Lightroom Classic CC (NOT a must have. Do not use this if you’re new. It has a lot of clunky features that you won’t need and takes up too much hard drive space)
This guide will show you how to install presets on your laptop and mobile on iOS or Andriod!
STEP 1. Make sure you have your phone + laptop near. Log into your Adobe Account via the cloud icons on the top.
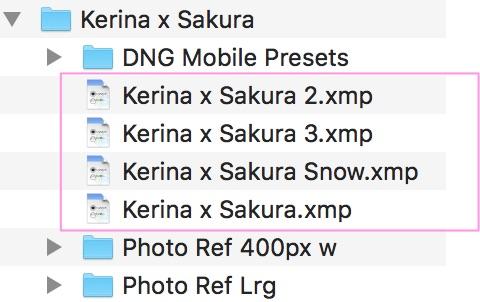
STEP 2. On your laptop; download any of our presets and look for the XMP files. The Curacao presets are free!
STEP 3. On your laptop; Open Lightroom CC and click the Edit panel, then > click Presets
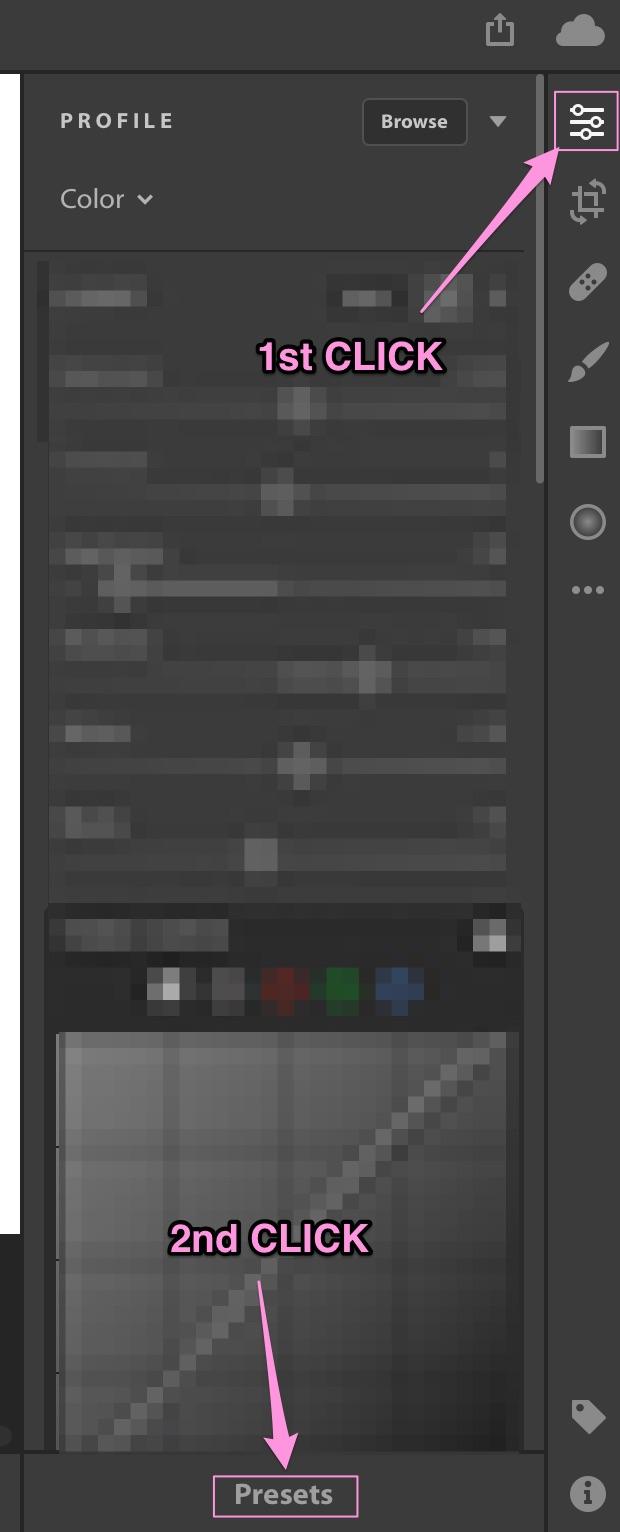
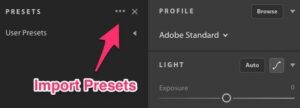
STEP 4. Find the Import Presets button hidden in the “. . .” button > Select the XMP files to import
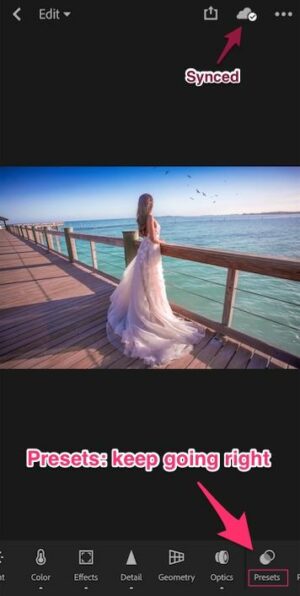
STEP 5. Desktop presets are DONE. If you would like to sync to mobile (iPhone or Andriod), just make sure you’re logged into the same Adobe Creative Cloud account and wait for the Cloud icon to sync. You will find the Cloud icon and Presets section here:
That’s it! I hope this was useful for anyone looking to get into photography. Remember that I do have basic start presets such as the Curacao Presets. Make sure you keep tabs on http://www.KerinaMango.com/Presets for next exciting new things I have in store for you!
PS. Want to share this info? ![]() this this blog post:
this this blog post:
